News
Maximize Survival: Proper Brooding Management for Broilers from Days 2–7
Source: TBBView: 101Maximize Survival: Proper Brooding Management for Broilers from Days 2–7
Once your broiler chicks have accessed fresh water and feed, they quickly develop a natural reflex for eating and drinking. You won’t need to worry about them refusing feed or water. For the first 10 days, we recommend consistent, unrestricted feeding to support early growth and uniform body weight.
During days 2–6, chicks will face their first ventilation cycle and a gradual reduction in indoor humidity. In my experience, the first ventilation is one of the most critical challenges in early brooding, so we will cover this in detail first.
I. First Ventilation for Young Broilers
1. Timing of First Ventilation: In closed commercial poultry houses, the first ventilation typically starts around day 3 in spring and autumn. In winter, timing depends on indoor conditions and outdoor temperature. In summer—especially during rainy seasons—ventilation should begin if humidity stays above 75% for long periods.
Poor ventilation prevents moisture from evaporating from manure, leaving chicks with wet, sticky feathers and increasing the risk of overheating. This is especially important for farms using a commercial poultry farm automatic cage system, where environment control directly impacts flock health.
2. Ventilation Volume: The first ventilation is simply a gentle introduction to air movement, helping chicks adapt gradually. You may use mechanical ventilation or small natural air inlets.
For example, in a cage house with 20,000 chicks, you can run a 1.4 m fan for 5 seconds every 300 seconds, or a 1.0 m fan for 10 seconds every 300 seconds. Always monitor the real-feel temperature: if humidity drops more than 20%, reduce ventilation volume to avoid chilling young chicks.
As a trusted poultry farming automatic cage equipment supplier, we always emphasize that stable environment control is the foundation of efficient brooding.
II. Feed Troughs & Feed Management
1. When first using feed troughs, apply a thicker layer of feed and manually push it toward the chicks for easy access.
2. After chicks start using the troughs, remove any unused or empty feed trays to avoid dependency.
3. Regularly push leftover feed toward the edge of the trough to encourage consistent feeding.
For farms using a fully automatic feeding and drinking chicken cage system, manual feeding adjustments become far less frequent, saving labor and improving feeding consistency.

III. Water Line Management
1. Adjust water line height according to chick height starting on day 3, then re-adjust every 2 days. For chicks under 10 days old, keep water levels moderate—aim for a 45° angle between their neck and the water line.
2. Flush water lines on day 6, then flush after each feeding period to prevent clogging.
A well-maintained water system is essential for any automated manure removal poultry cage system, as clean water reduces disease and supports steady growth.
IV. Cull Weak & Disabled Chicks Promptly
Remove weak, deformed, or underdeveloped chicks early to prevent the spread of disease and ensure uniform growth in the flock.
V. Temperature Control
Reduce temperature by approximately 0.7°C daily, reaching around 30.5°C by day 6.
Avoid overly high temperatures, as this reduces feed intake and leads to below-standard weight by day 7.
Modern automatic poultry systems from a reliable automatic poultry cage supplier can maintain precise temperature ranges with minimal human error.
VI. Observe Health & Prevent Proventriculitis
Check chick feces starting on day 3 to watch for early signs of proventriculitis. In many regions, this condition appears before day 7 and must not be ignored.
VII. Day 7 Immunization
Immunization on day 7 (including oil-adjuvant vaccine injection and live vaccine eye/nasal application) creates significant stress for young broilers. On a 5-level stress scale, this ranks at Level 4.
To reduce stress:
Provide vitamins from days 6–8.
Increase target house temperature by 1°C on day 7.

VIII. Grouping & Cage Distribution
In warm weather, you can group chicks during immunization, preferably into upper and middle cages.
In colder seasons, avoid placing chicks in the bottom layer too early, as temperature differences often exceed 2°C between lower and middle tiers.
Grouping Schedule
Summer: first grouping at day 7; second grouping before day 18.
Spring, autumn, winter: first grouping at 10–14 days; second grouping at 19–25 days.
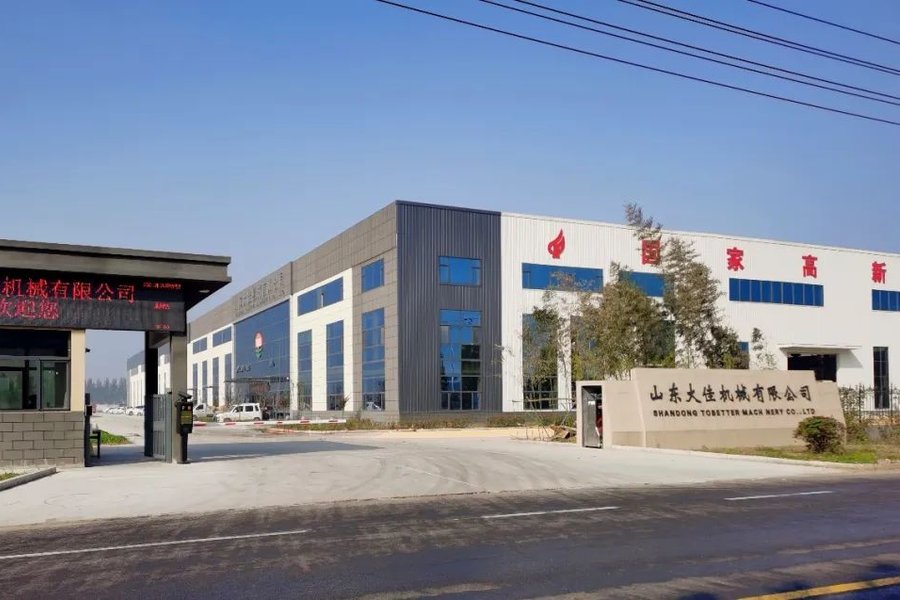
Exact timing varies based on equipment sophistication, which is why many large farms rely on solutions from Shandong Tobetter Machinery for scalable, consistent performance.
IX. Drinking Water Immunization Tips for Caged Broilers
If administering vaccine through drinking water on day 7:
1.Drain water completely from the end of the line to ensure uniform water restriction.
2.When adding the vaccine, close valves and inject from the far end toward the front, activating top, middle, then bottom layers in sequence.
3.Remove trapped air in water lines to ensure every chick receives vaccine.
Final Note: From Expert Knowledge to Automated Success
The real challenge in brooding is not understanding these principles, but applying them accurately, consistently, and at scale. Manual management often leads to inconsistency, which directly harms weight gain, FCR, and profitability.
This is where intelligent automation transforms your operation.
Imagine a system that adjusts ventilation based on real-time temperature and humidity, delivers precise feed and water, monitors flock conditions, and turns expert protocols into reliable, repeatable results.
If you want to turn your critical first-week brooding from a daily challenge into a data-driven advantage, Shandong Tobilter Machinery — a leading poultry farming automatic cage equipment supplier — can help.
We provide commercial poultry farm automatic cage systems, fully automatic feeding and drinking chicken cage systems, and automated manure removal poultry cage systems designed for high survival rates, uniform growth, and long-term profitability.
Ready to upgrade?
→ Contact us today for a free consultation and build a precision brooding program that fits your farm.